|
The following explains the process of making a scratchboard piece on clayboard, ink and sometimes watercolor. Scratchboard is a technique invented in the 1850s. At that time artists worked on a specially coated cardboard but now most artists use clayboard, which is a hardboard coated with a fine layer of clay. You can buy it in white or black, the black being already coated with a layer of ink. I prefer to use the white in most cases because I like to preserve the white background and only cover with ink the parts of the design that I’m going to scratch. That way the white area stays clean and I can paint it with watercolor, other media, or leave it white. 1- I draw my sketch on tracing paper and transfer it to the clayboard by putting a sheet of graphite paper between the board and the tracing paper. I always rest my hand on a piece of tracing paper to prevent smudging. 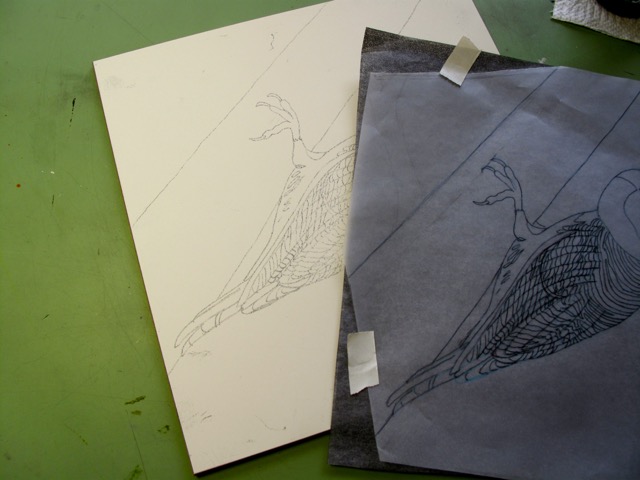 2- I cover with waterproof ink only the areas that I will scratch. I might do more later but I start with the main design. If the drawing has areas that are light but not totally white, I dilute the ink and cover the surface lightly.
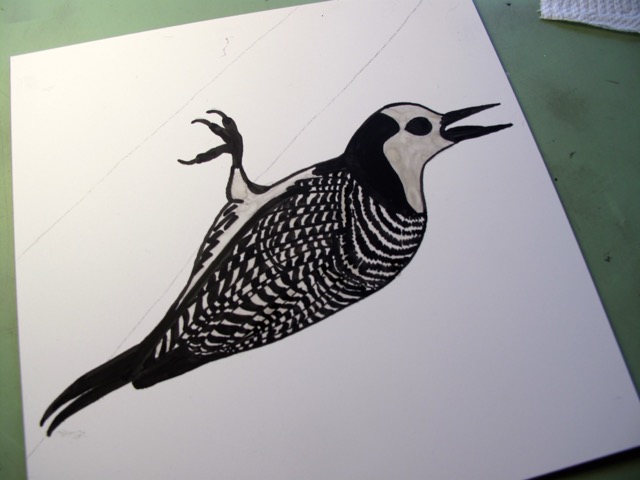
3- In this case I put a gray coat of ink on the tree trunk and on the white parts of the bird that I would later scratch. I also added some branches and berries and since I wanted them very light so they wouldn't compete with the main drawing. I used liquid frisket to cover those areas. It looks blue. 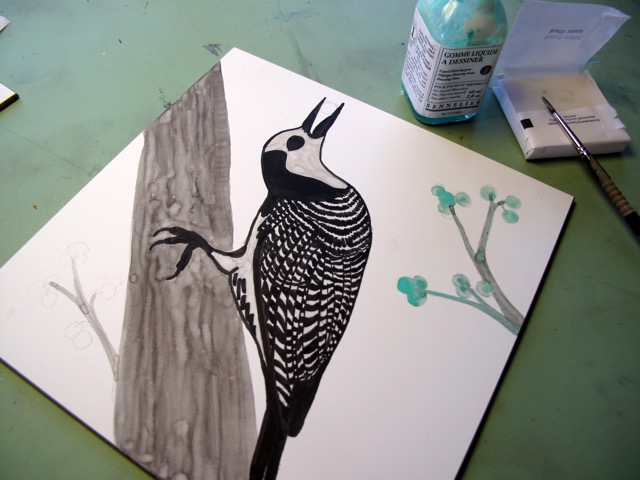 4- The next step is to start scratching the ink to get to the white layer. I do that very lightly with a fine knife, trying not to damage the surface. I can always come back and add pressure to show more detail. I always do the scratches following the contour of the subject, building volume and following the direction of the feathers, hair or other textures. 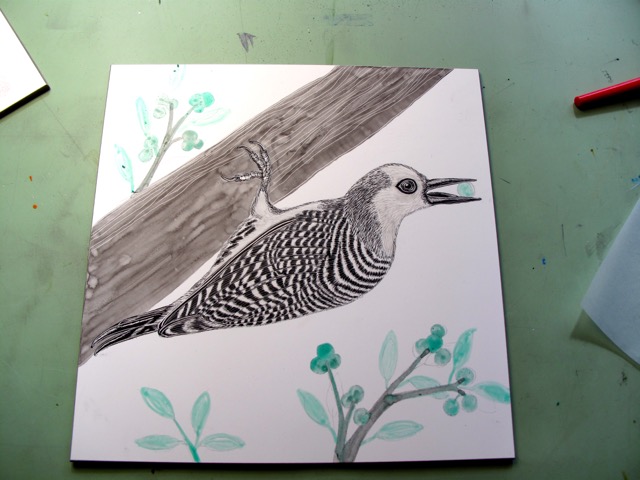 5- At this point I am ready to add some color. This surface is not prepared for watercolor so it won’t be even but I like to take advantage of the textures and accidents it will produce. If I’m not happy with the results I can add or take out some color with a thick brush and water, picking up or moving the color around. It looks scary but I like the challenge. After the surface is completely dry I use a rubber eraser to pick up the liquid frisket. As you can see it leaves a white area ready to be inked. 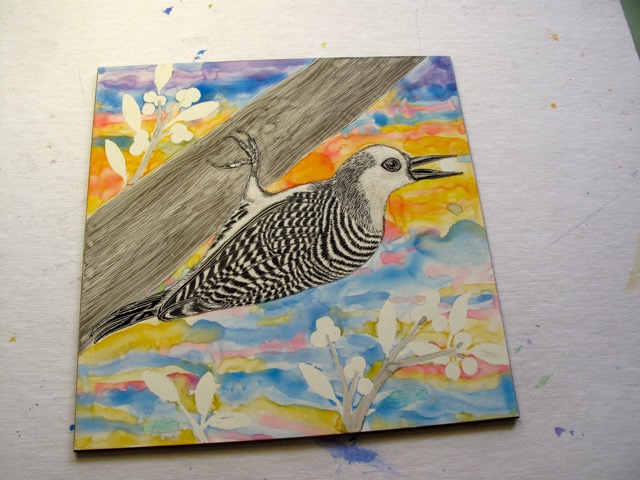 6-Finally, I use a mechanical pen with waterproof ink to draw the branches and only watercolor for the berries. I usually go back to add highlights, add some ink or do other changes before the piece is ready. 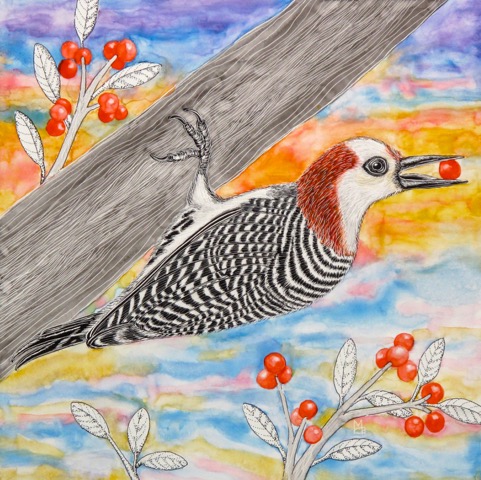
1 Comment
|
ArtistMiriam Sagasti 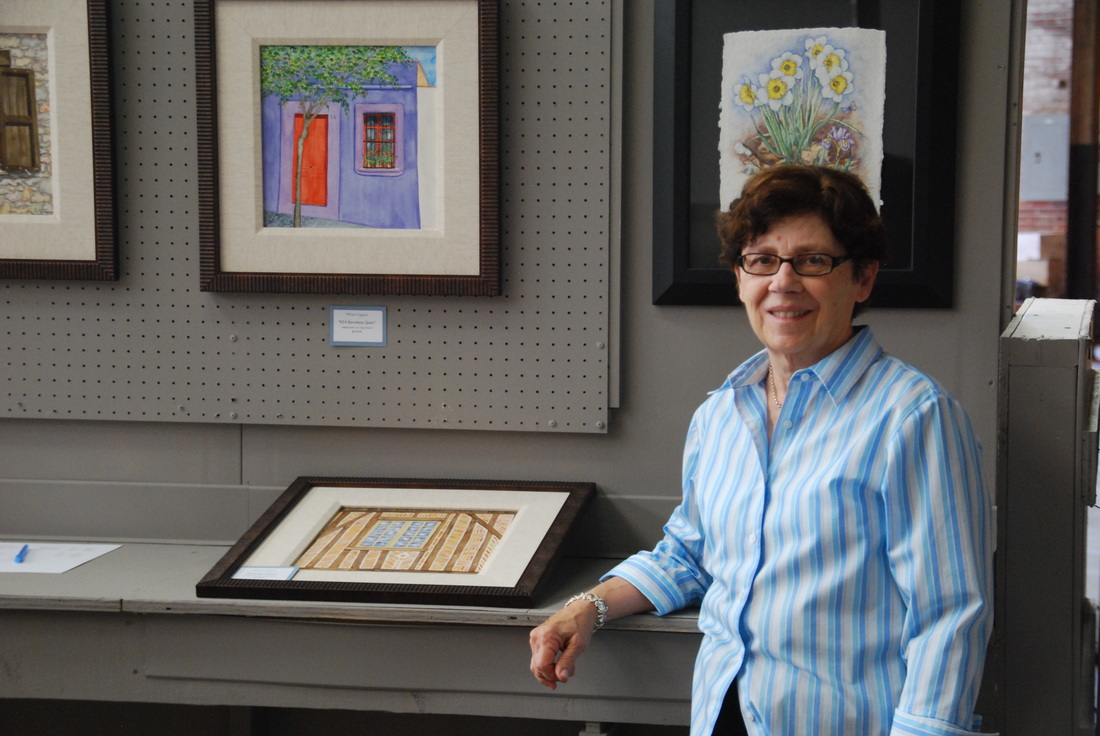
ArchivesCategories
All
|

 RSS Feed